

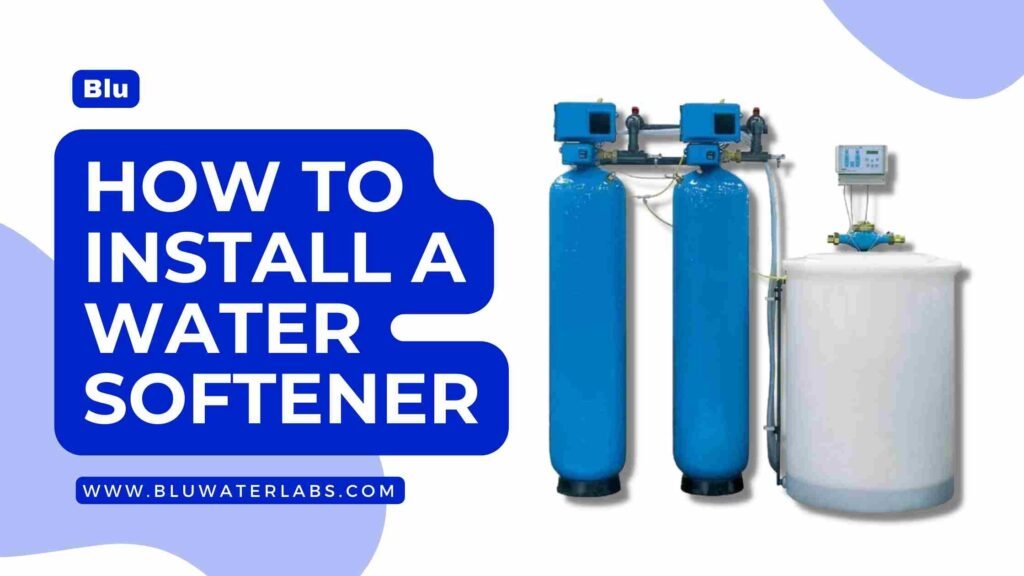
Water softeners are an excellent way to improve the quality of your home’s water supply. They not only reduce the amount of calcium & magnesium in the water but also minimize the amount of soap scum, scale, and other buildups that damage appliances and plumbing. You can enjoy clean & healthy water for drinking, cooking, and bathing. How to install a water softener?
Installing a water softener in your home can be an amazing way to reduce limescale build-up, improve the taste of your water, and extend the life of your appliances and plumbing.
This article will provide all the steps on how to install a water softener and the necessary steps for installation. With the right approach, you’ll enjoy the benefits of a water softener in no time.
Where To Install A Water Softener
If you want to replace an old water softener with a new one, locate the new unit in the exact location. If your home does not have a water softener, consider placing your new one in the following areas:

Required Hookups
A water softener will require a drain, such as a floor drain or utility sink. In addition, it will require a nearby electrical receptacle (not controlled by a switch) that handles the needed amperage. You can check the manufacturer’s specifications.
General Location
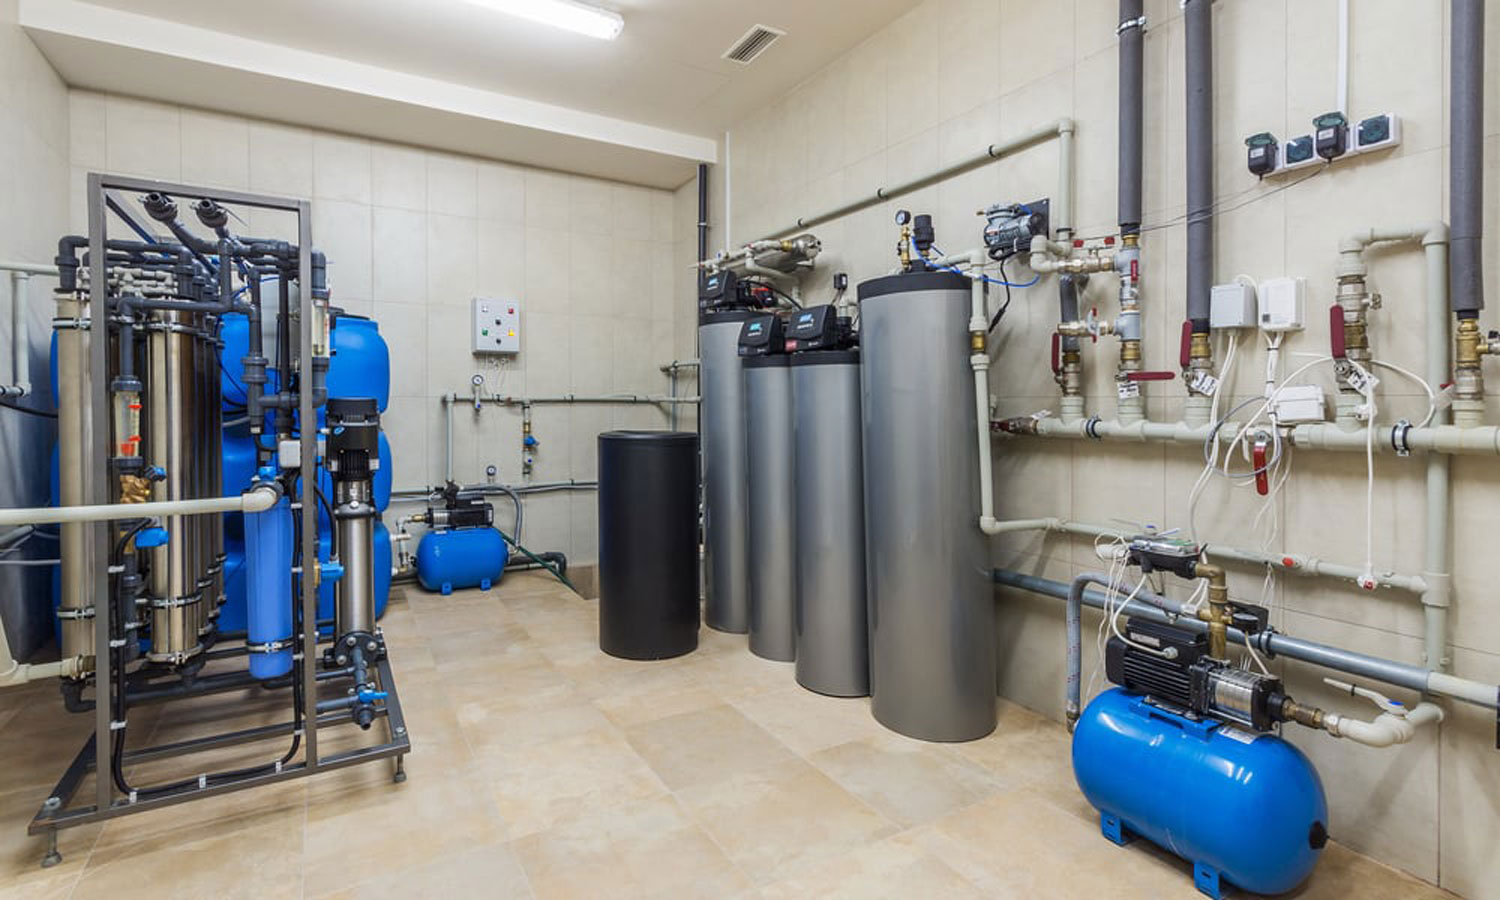
You should place a new water softener in an out-of-the-way location but near the plumbing system—typically in a basement, garage, or utility room near the water heater. Allow enough room around the equipment for simple maintenance.
Be sure not to put the softener in an area that could freeze, resulting in permanent damage and voiding your warranty.
Where To Connect To Pipes
Sodium in drinking water is harmful to health, so it is necessary to bypass some faucets. It is best to install the water softener before the water heater to reduce sediment build-up. This reduces the home’s entire water supply from being softened.
You can choose to install a salt-free water-softening system. The water softener should not be located downstream from the water heater, as temperatures above 110° F (43° C) might damage the device and void the warranty.
How To Install A Water Softener: Preliminary Steps

Determine your potable water supply’s hardness before installing a water softener. Your water utility company should already have precise information on the mineral hardness of the water supply. This will help you choose the correct settings on how to install a water softener.
In some areas where water is drawn from lakes and rivers, soft water may be available. However, hard water might be available in other areas where water is drawn from wells.
Home centers or hardware stores sell DIY water quality test kits similar to the ones used to test swimming pool water. These water quality tests can also be purchased online.
Before installing the water softener, choose a location for it. Choose an appropriate location for the water softener, ensuring it is accessible from all sides.
Outdoor spigots and lawn irrigation systems should link to unconditioned water rather than softened water, as softened water can damage or kill living plants. Check the unit’s instructions for recommended uses of the softened water.
A water softener uses a mineral tank (or resin tank) with plastic resin beads that capture hard minerals through an ion-attraction process. A brine tank has a salt or potassium chloride solution that periodically pumps water through the mineral tank to wash & regenerate the plastic resin beads.
Some models combine the tanks into one convenient unit. Choose a location with an electrical outlet for power and a drain for water discharge.
Installing A Water Softener
I have seen a lot of people asking how to install a water softener. But, do you know the installation process of a water softener is simple & straightforward. You just need all the plumbing skills to make the water supply connections successful.
You will likely have to solder copper pipes and fittings to insert the water softener into the water supply system, which may require a propane torch. If you are unfamiliar with this sort of work, get your water softener installed by a plumber or a company that specializes in this sort of work.
Before you install a water softener, understand how it works. It is a great idea to research the different types of water softeners & how they function.
In this guide, I am specifying a project that shows how to install a water softener. The ion-exchange system utilizes a brine tank with salt/potassium pellets to offer the backwash solution.
This project also provides an overview of the work. You can consult the manufacturer’s instructions for more detailed information on installing a particular water softener.
Please Note: You need more than basic DIY knowledge in this project. This project costs $10,000 due to the involvement of multiple trades. Since the amount is too high, assigning it to a professional is better.
How To Install A Water Softener: Requirements
You can install a water softener with the help of this equipment and tools –
- Adjustable wrench
- Hacksaw (if needed)
- Screwdriver
- Channel-lock pliers
- Propane torch (if required)
You can install a water softener with the help of these materials –
- Plumbing pipe fittings (as needed)
- Solder and flux (if required)
- Pipe clamps
- Water softener with bypass valve
- Flexible supply tubes
- 1/2-inch diameter flexible drain tubing
- Air gap fitting (if needed)
How To Install A Water Softener: Instructions

Here is a simple guide on how to install a water softener. You can install a water softener in the following steps –
1. Install The Bypass Valve
You can add a bypass valve to the water softener if you desire. Some water softeners have a bypass valve that shuts the water through the water softener (in case of repairs or temporary shut-off). You can secure the bypass valve using the provided clips.
2. Tie Into The Water Supply
A water softener can be connected to the water supply system using flexible supply tubes. It’s better to use flexible supply tubes as they allow you to remove or bypass the system quickly in the future.
First, you must shut off the water to your home & drain the pipes to connect the water heater using flexible supply tubes. Then, cut out a section of the water supply line & install adapters to accept the flex tube fittings.
Water supply pipes determine the type of adapters to use. Soldered fittings are usually included with traditional copper pipes or push-fit fittings that don’t need soldering.
You need to connect the flex lines to the water supply pipes and the back of the water softener unit. Ensure that the supply-side pipe is linked to the water softener’s inlet port and the house-side pipe to its outlet port. Use an adjustable wrench or channel-lock pliers to tighten the fittings.
3. Connect Tubing Between Tanks
If your softener has two separate tanks, connect the brine tank and mineral tank using the tubing (included with the water softener). Most water softeners use hose clamps to secure the tubing.
4. Connect The Drain Tubes
Most water softeners need 2 drain tubes. One connects to the control valve and voids the backwash water during the regeneration cycle. Another is a brine tank & that serves as an overflow drain. Both lines run to the home drain but shouldn’t be connected.
You can find a lot of options to accomplish the drain requirements. Drain lines frequently run to a floor drain, but you can extend the drain line into the standpipe.
Dishwashers require an air gap fitting to prevent contaminated drain water from back-siphoning into the water softener. A water softener can be connected directly to a drainpipe or standpipe using special air gap fittings.
In this project, the owner has installed a drain pipe with a trap into which they run the 2 drain tubes for the water softener. A slight division between the drain tubes and the drain pipe fulfills the air gap requirement.
Hook up a 1/2-inch flexible tubing to the drain elbows on the control valves & the brine tank with hose clamps, and run the tubes to the chosen drain location. You can then attach them to an air gap fitting or anchor them securely to a utility sink or floor drain.
5. Start The System
Open the water supply system main shutoff valve to turn on the water. Do it slowly because sudden pressure can damage fittings. Then, open a cold water tap in the house to allow air to escape on refilling the pipes.
Plug the water softener in, then set the time of day and water hardness level. The last step is to add the salt or potassium chloride & then start the system. You can read the manufacturer’s recommendations about the type and quantity of salt or potassium chloride to use.
6. Run A Backwash Cycle
You must follow the manufacturer’s instructions for running a backwash (regeneration) cycle on the water softener. This step will purge air from the system & lose the plastic resin beads in the mineral tank to ensure that the system runs efficiently.
During the backwash cycle, check for leaks. After the process is complete, review the brine tank water level and make any adjustments recommended by the manufacturer.
FAQs (Frequently Asked Questions) On How To Install A Water Softener
1. Where’s the best place to put a water softener?
It is common for water softeners to install near the incoming water line before the water heater. However, it can also be placed in the garage, attic, or even a closet dedicated to system storage.
2. Is it worth installing a water softener?
Water softener systems can solve the problems caused by hard water. You need to use less soap and detergent to clean your body and clothes with soft water. You’ll also have energy savings from the water heater, which uses less energy to heat water.
3. What is the downside of a water softener?
People on low-sodium diets may be at risk of the health consequences of softening water. Each gram of hardness removed from water exchanges 7.5 milligrams of sodium for hardness minerals. Calcium and magnesium are also eliminated from the diet.
4. Do water softeners use a lot of electricity?
Softeners are much less effective than you might think, although the type of softener will influence its efficiency, making some softeners more efficient than others. Time-operated softeners are probably the least efficient.
Conclusion: How To Install A Water Softener
Before installing a water softener, determine the hardness of your potable water supply. Your water utility company should already have precise information on the mineral hardness of the water supply.
The water softener must be positioned where it can condition the house water supply. You must choose a location for it. Choose a location with an electrical outlet for power and a drain for water discharge.
The installation process of a water softener is simple & straightforward. You just need all the plumbing skills required to make the water supply connections. You can consult the manufacturer’s instructions for more detailed information on installing a particular water softener.
I hope this article on how to install a water softener sounds helpful!
Read More
How To Install A Water Softener?
Ultimate Guide For Water Softener Maintenance
Understanding Tankless Water Heater Cost: What To Expect And How To Save Money