


A whole house water filter system is an excellent investment for ensuring clean and safe water flows through your home. These systems are designed to remove harmful contaminants, unpleasant tastes, and odors from your water supply. In this article, I’ll guide you through the process of installing a whole house water filter system to improve the overall quality of the water in your home.
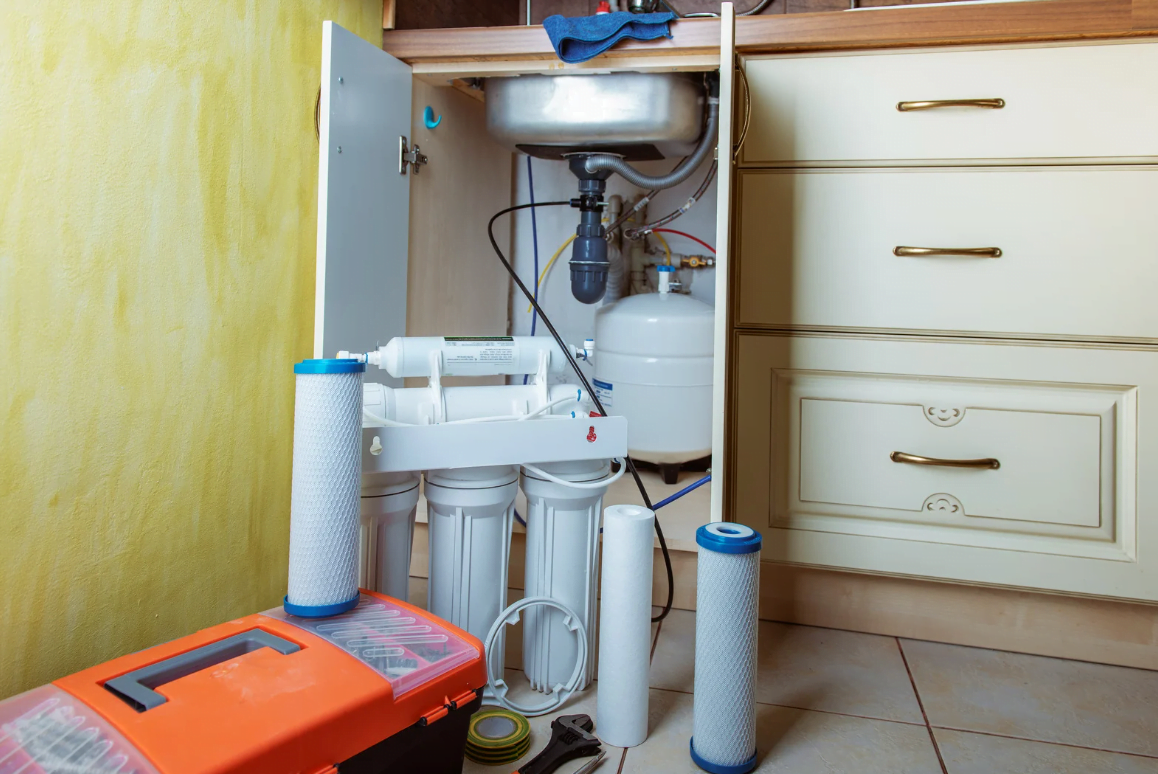
Before diving into the installation, it’s essential to know where to install the system. Typically, the filter should be installed in-line with the existing plumbing line, after the main shut-off valve, and before the water branches off to other parts of your home. Having the right tools and materials, like a pipe cutter, wrench, and filtration components, will make the process smoother and more efficient.
Throughout the installation process, you’ll need to shut off the water supply, release pressure from the pipes, and accurately measure and cut pipe sections. Following these steps and the manufacturer’s instructions, you’ll be on your way to enjoying the benefits of clean, filtered water throughout your entire home.
Determining the Type of Water Filter System
Before you install a whole house water filter system, it’s essential to understand which type of filter will best suit your needs. Several factors can impact this decision, such as whether you have city water or well water and whether you want a carbon filter or a media filter. In this section, we’ll explore these factors to help you make an informed decision.
City Water vs Well Water
Depending on the source of your water, the types of impurities in it may vary, thus affecting the filter type you’ll need.
City Water:
- Typically contains chlorine or chloramine to disinfect the water.
- May have trace amounts of heavy metals, pesticides, or pharmaceuticals.
- A carbon filter is often a good choice for city water, as it excels in removing chlorine and organic compounds.
Well Water:
- Contains no added chemicals like chlorine, but may have naturally-occurring contaminants.
- May contain minerals, bacteria, or sediment, depending on the well’s depth and location.
- Media filters can be more effective for well water, as they can filter out various particles depending on the filter media used.
Carbon Filter vs Media Filter
Both carbon and media filters serve different purposes, and understanding their strengths can help you decide which one is right for you.
Carbon Filter:
- Effective at removing organic compounds, chlorine, and unpleasant tastes and odors.
- Provides polished, better-tasting water, primarily if your home uses city water.
- May not be as effective at removing certain minerals, bacteria, or heavy particles.
Media Filter:
- Offers diverse filtering options depending on the filter media used, such as sediment, iron, or manganese.
- Excellent for well water, which often contains more significant or varied particles.
- Requires less frequent filter replacements compared to carbon filters, depending on the specific media.
By considering whether you have city water or well water and evaluating the benefits of carbon and media filters, you can make an informed decision about the best whole house water filter system for your home.
Selecting a Location for Installation
When installing a whole house water filter system, finding the right location is key to ensuring optimal performance and ease of maintenance. Start by considering these factors:
- Water supply: The filter should be installed as close to your water pipe’s entry point into your home as possible. This ensures that your entire water supply, including your hot water heater, will be filtered.
- Space: Ensure there is enough space around the chosen area to accommodate the filter system and any required tools for installation and maintenance.
Considerations for Pipes and Faucets
It’s important to identify your home’s main water shut-off valve in order to install the water filter system properly. Locate it and then select a position nearby, making sure it is upstream of your water heater. Additionally, the system should be installed in-line with your existing plumbing line.
Keep in mind the impact on the flow of water to your faucets when selecting the installation location. Avoid selecting a spot too far away from the main water line or with too many bends in the pipe. This could affect water pressure and reduce the efficiency of the filter system.
Mounting and Accessibility
Installing a whole house water filter system to a wall or floor joist will provide additional stability. When selecting a location, take note of the available surfaces and ensure there is enough space for attaching the filter mounting bracket.
You’ll also need easy access to the system in order to change filter cartridges or perform maintenance. Selecting a location that provides easy access and sufficient space to work around will make these tasks much simpler.
By taking these factors into account when selecting a location for your whole house water filter system, you can ensure a smooth installation process and optimal performance.
Gathering Necessary Tools and Materials
Before starting your whole house water filter installation, it’s crucial to gather the necessary tools and materials. This will make the process smoother and ensure that you have everything on hand when you need it. In this section, we will go over the essential items you should gather before beginning the installation.
First, let’s talk about tools. You’ll need some basic plumbing tools, such as a pipe cutter and an adjustable wrench to cut and secure the pipes. Additionally, a drill and drill bits will come in handy for attaching the filter bracket to a wall or plywood, if necessary. A screwdriver is also useful for tightening brackets and fittings.
Now, let’s move on to materials. Pipes are an essential part of the installation, as they will connect the various components of the system. The type of pipe you need will depend on your existing plumbing and the filter system you’ve chosen. Be sure to consult your filter’s instruction manual for specific pipe requirements.
Solder may be necessary if you need to make any adjustments to your copper pipes. Make sure to have some on hand if this applies to your installation.
A pipe cutter is an essential tool for cutting pipes to the appropriate length. This tool ensures clean, precise cuts that will help minimize leaks and make connections easier.
You will also need some copper wire for grounding the system. Proper grounding is important for safety and for preventing electrical interference from affecting the performance of your water filter.
In addition to these items, you may need some other materials like push fittings, tubing, and a shut-off valve, depending on your filter system’s specific requirements.
By gathering these tools and materials ahead of time, you’ll be well-prepared to install your whole house water filter system seamlessly and efficiently.
Preparing for Installation
Turn Off Water Supply
Before you begin installing your whole house water filter, it’s essential to turn off your home’s water supply. Locate the main shut-off valve, which is usually near the water meter or near the point where the water enters your home. Once you’ve found the shut-off valve, turn it clockwise to stop the flow of water. This step is crucial for ensuring a safe and successful installation process.
Release Water Pressure
Next, you’ll need to release the water pressure in your plumbing system. To do this, open all the faucets and fixtures in your home, starting from the lowest level and working your way up. This will help drain any remaining water from the pipes, making it easier to cut, adjust, and work with the plumbing during the installation process.
In addition to releasing water pressure, consider installing a bypass valve. A bypass valve allows you to isolate the filter system while still maintaining water flow to the rest of your home. This feature can be particularly useful during filter maintenance or replacement. To install a bypass valve, you’ll need to connect a copper tee to each side of the cut section of pipe, and then link them together with a ball-valve.
By completing these preliminary steps, you’ll create a safe and efficient working environment for installing your whole house water filter system. Remember to turn off the water supply, release water pressure, and consider incorporating a bypass valve into your installation for added convenience.
Installing the Whole House Water Filter System
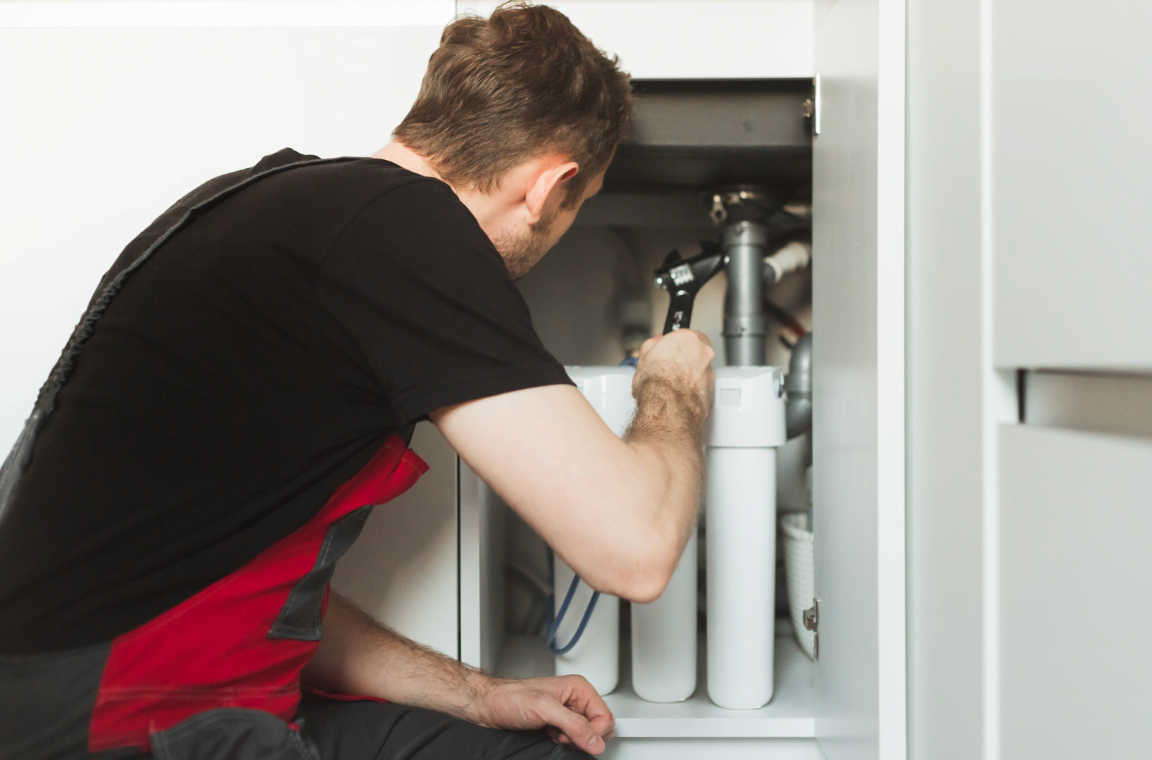
Install Filter Housing and Brackets
Before starting, gather the necessary tools and materials such as a pipe cutter, drill, drill bits, screwdriver, adjustable wrench, and a bucket.
First, locate the most suitable point in your main water line for the whole house water filter system installation. Turn off the water supply and use a pipe cutter to carefully cut out a section of the water pipe. Make sure to place a bucket underneath to catch any remaining water in the line. Use a reamer or deburring tool to remove any burrs on the cut pipe ends.
Next, mount the filter housing onto the wall using the mounting bracket, which should be included with the filtration system. Ideally, choose a location where you have easy access to the filter housing for future filter replacements. Mark the bracket’s screw holes on the wall, then use a drill and drill bits to pre-drill the holes.
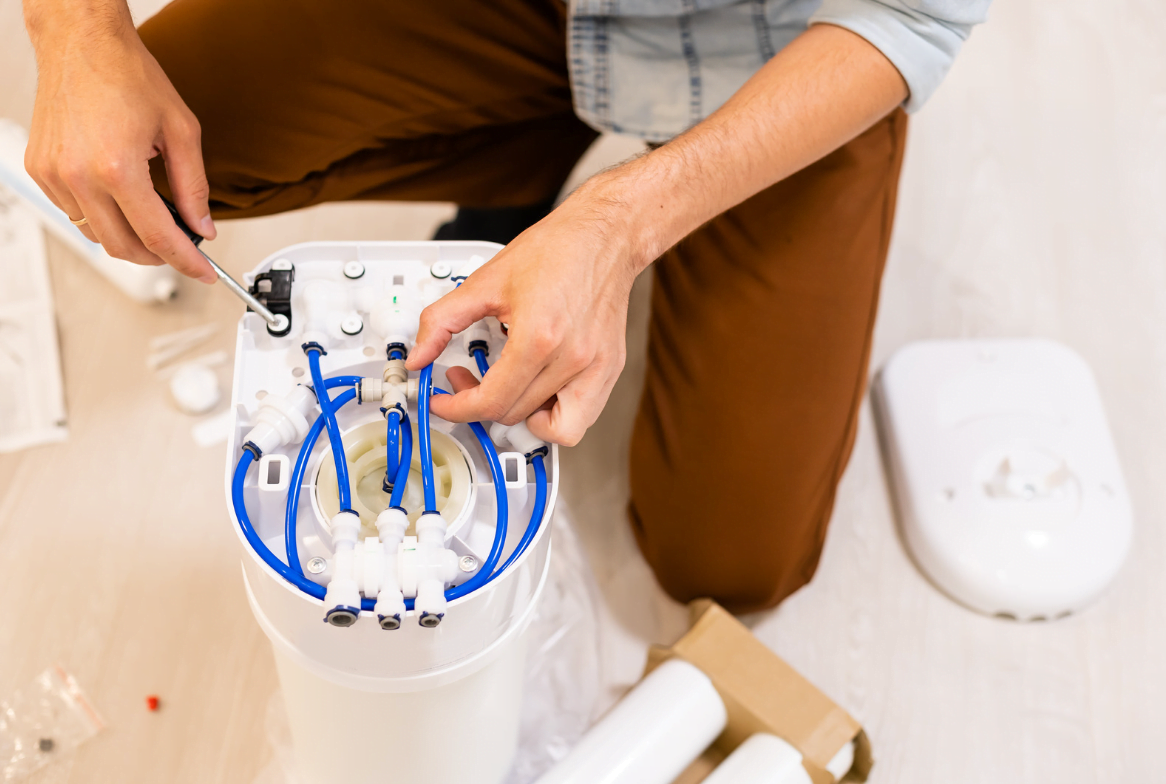
Connect Pipes to Filter Housing
Now that the filter housing is securely mounted on the wall, prepare to connect the pipes to the filter housing. Consider installing shut-off valves on either side of the filter housing, as this will allow you to easily turn off water supply to the system when replacing filters. Here’s a step-by-step guide to connecting the pipes:
- Install the tees and a by-pass shut-off valve on the main water line, ensuring a snug and leak-free connection.
- Connect the inlet and outlet ports of the filter housing using push fittings and tubing. Make sure to check if your system requires soldering, as plumbing connections can vary.
- Double-check that all connections are secure before turning the water supply back on.
- Turn the water supply on and flush the system to ensure there are no leaks or other issues with the connections.
Remember to periodically check your whole house water filter system and replace the filters as needed according to the manufacturer’s recommendations to maintain optimal performance.
Installing Additional Components
Install Sediment Pre-Filter
Before installing the whole house water filter system, it’s a good idea to install a sediment pre-filter. This pre-filter will remove larger particles and debris from the water, helping to prolong the life of your main filter cartridges. To install a sediment pre-filter, follow these steps:
- Turn off the water supply to your home and release pressure from the pipes by opening the nearest outlets.
- Locate the point where the main water supply enters your home and cut a small section of the pipe to accommodate the sediment pre-filter.
- Install a copper tee on each side of the cut section of pipe.
- Connect the tees with a length of pipe and a ball-valve, ensuring that you dry-fit the sections first to check for proper fit.
- Once everything is in place, secure the connections with appropriate fittings and soldering if necessary.
Now that your sediment pre-filter is installed, you can proceed to install the filter cartridges.
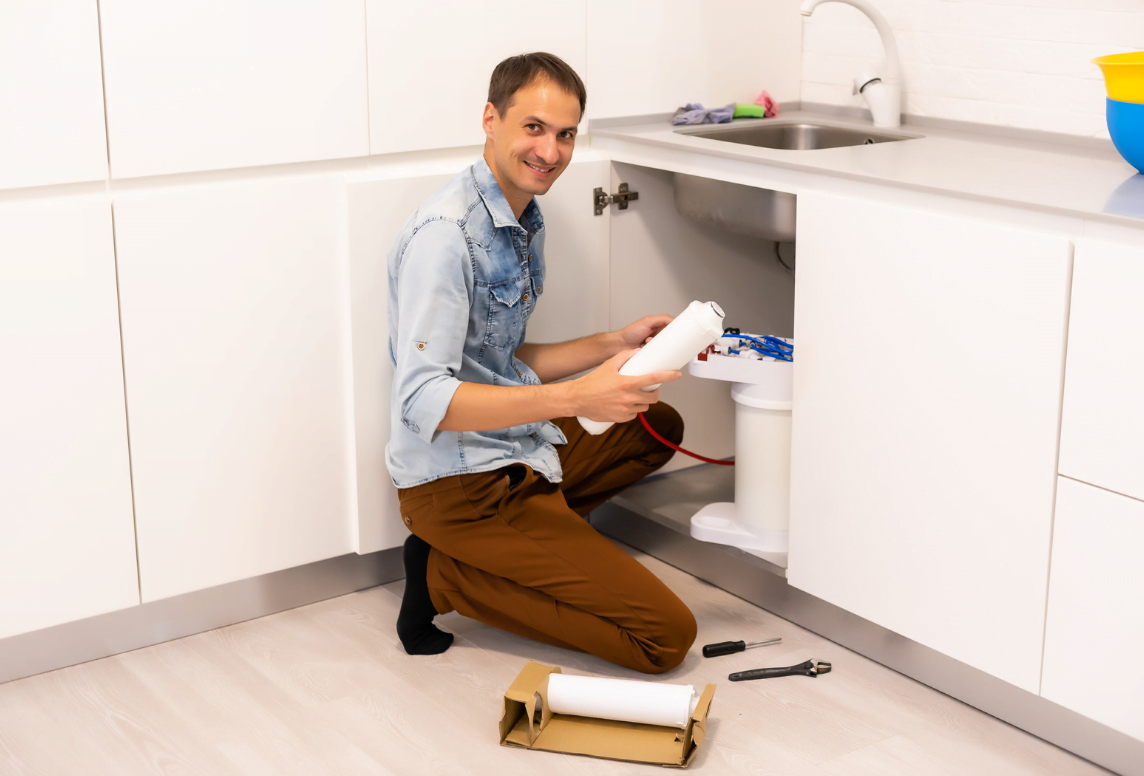
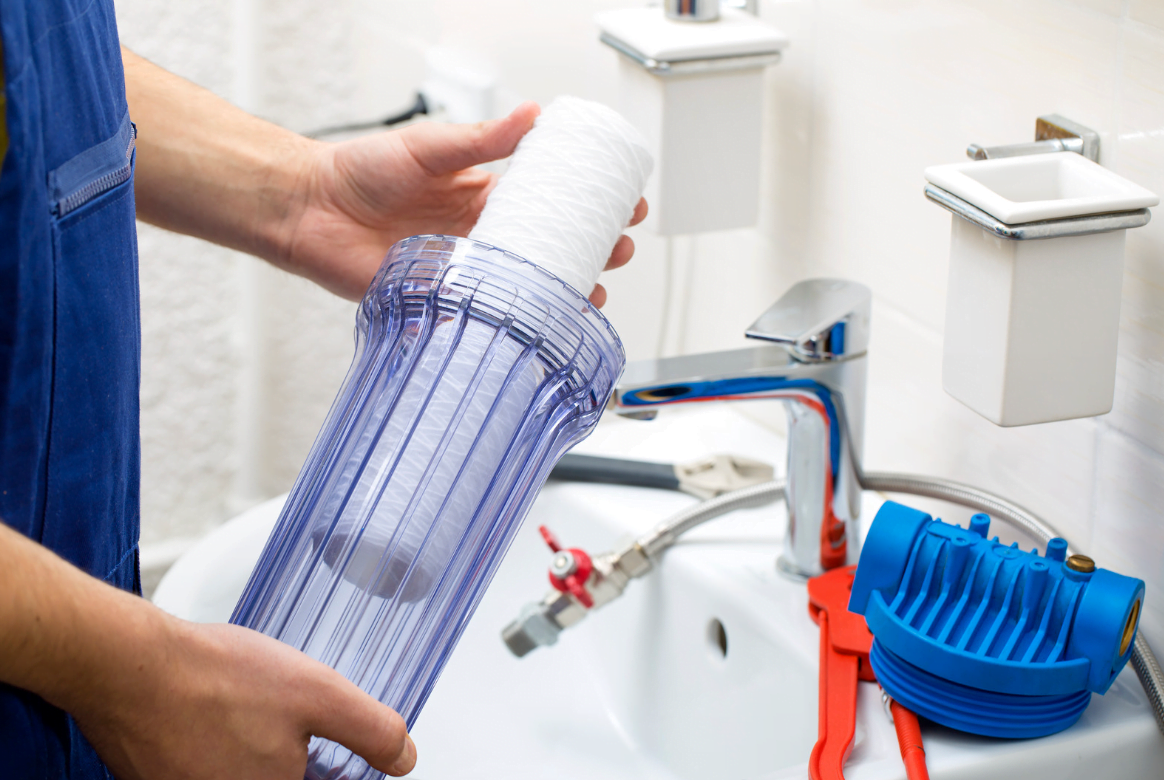
Install Filter Cartridges
Filter cartridges are the main component of a whole house water filter system, responsible for removing contaminants from your water. Here’s how to install the filter cartridges:
- Select the appropriate filter cartridge for your specific filtration needs, such as a carbon or sediment filter.
- Turn off the water supply and release pressure from the pipes by opening the nearest outlets.
- Remove the main filter housing by unscrewing the lid or using a wrench, depending on your system’s design.
- Insert the selected filter cartridge into the housing, ensuring it is seated properly and level.
- Replace the housing lid and secure it tightly to prevent leaks.
- Turn the water supply back on, flush the system, and check for leaks.
By installing a sediment pre-filter and the proper filter cartridges, you’ll greatly improve the performance and longevity of your whole house water filter system. Remember to regularly maintain and replace your filter cartridges according to the manufacturer’s recommendations to ensure optimal operation and water quality.
Finalizing the Installation
Inspect for Leaks
Before you turn the water supply back on, take a moment to carefully inspect your whole house water filter system installation for any potential leaks. Make sure all connections are tight and properly sealed. This step is crucial, especially if you’re new to plumbing installations or have limited experience. A thorough inspection of the system will ultimately save you time and prevent possible water damage from undiscovered leaks.
It’s also a good idea to have someone else double-check your work. They might spot issues you may have missed, making the entire installation process more reliable and efficient.
Turn Water Supply Back On
Once you are confident there are no leaks, it’s time to turn your water supply back on. Slowly open the main water valve, allowing water to gradually flow through the system. Keep an eye on any newly installed components for possible leaks, and be prepared to shut off the water supply promptly if needed.
With the water flow restored, observe the filter system’s performance for a few minutes. Listen for any irregular noises or vibrations that could indicate an issue with your installation. Additionally, verify that the electrical system, if applicable, is operating correctly and without any faults.
Remember, the installation process can be an easy and straightforward experience, as long as you follow the steps carefully and thoroughly inspect your work. By doing so, you’ll be on your way to enjoying clean and filtered water throughout your entire home. Happy filtering!
Maintenance and Service
Proper maintenance and service of your whole house water filter system will ensure optimal performance and extend its lifespan. This section will cover the necessary steps to keep your system in top shape.
Monitoring Water Pressure
Monitoring the water pressure in your system is crucial for detecting any potential issues. Low water pressure could indicate a clogged filter, while high pressure might cause leaks or damage to the system. Keep an eye on your system’s water pressure by installing a pressure gauge on the water supply pipe. Regularly inspect the gauge and compare the reading with the manufacturer’s recommended pressure levels. If the pressure is outside the recommended range, consult the manufacturer instructions or contact a professional for service.
Replacing Filter Cartridges
Replacing the filter cartridges regularly is essential for maintaining the effectiveness of your whole house water filter system. Over time, sediment filters can accumulate contaminants, which may affect the taste and odor of your water. Follow these steps to replace your filter cartridges:
- Turn off the water supply to your system and open a faucet to release pressure in the pipes.
- Unscrew the filter housing using a wrench or the tool provided by the manufacturer.
- Remove the old filter cartridge and discard it according to the manufacturer’s instructions.
- Clean the filter housing using warm soapy water and a sponge. Rinse thoroughly to remove any soap residue.
- Insert the new filter cartridge into the housing, ensuring it is seated correctly.
- Reattach the housing, making sure it is tightly sealed.
- Turn the water supply back on and check for any leaks. If the system is functioning properly, the water pressure should return to the recommended range.
Remember to follow the manufacturer’s guidelines for filter replacement frequency, as this may vary depending on your specific system and water quality. Performing regular maintenance and service will ensure your whole house water filter system continues to provide clean, safe water for you and your family.
Benefits of a Whole House Water Filter System
Having a whole house water filter system can bring numerous benefits to your everyday life. Let’s explore a few key advantages to help you understand the importance of filtered water for your home.
Clean Water Throughout Your Home: By installing a whole house water filter system, you can ensure clean water in every tap and plumbing fixture in your house. This means you can enjoy filtered water for cooking, showering, and cleaning without any hassle.
Significantly Improves Water Quality: Whole house water filter systems work to remove contaminants, such as chemicals and sediments, from your water supply, significantly improving the water quality overall. This not only provides healthy water for you and your family but also enhances the taste and clarity of your water.
Makes Water Safe to Use: Filtered water provides an extra layer of protection against potentially harmful contaminants in your water supply. This makes it safer to use for drinking, cooking, and bathing, especially if you have young children, elderly family members, or people with compromised immune systems in your household.
Saves Money: Investing in a whole house water filter system is an economical decision in the long run. By providing clean, safe water throughout your home, you’ll reduce the need to spend money on bottled water or frequent filter replacements in smaller, individual filtering devices.
Preserves the Environment: Using a whole house water filter system contributes to a greener lifestyle. By reducing your dependency on plastic bottled water, you’re decreasing your carbon footprint and supporting efforts to protect the environment.
These benefits and more make a whole house water filter system an essential feature for any home. As you explore this article, you’ll find valuable information on how to select and install the best water filter system for your needs to enjoy all these fantastic advantages.
Quick Recap – How to Install a Whole House Water Filter System
Before you begin, it’s important to gather all necessary tools and components. You’ll need a pipe cutter, drill and drill bits, screwdriver, adjustable wrench, and a bucket.
- Read the manufacturer’s instructions: Always start by carefully reading the instructions that come with your new point-of-entry water system to ensure proper installation and compatibility with your home’s plumbing.
- Turn off the main water supply: Locate your home’s main water shut-off valve and turn off the water supply. Open a fixture on the upper floor to drain out any remaining water in the pipes.
- Cut the pipe: Select a section of pipe where you want to install the water filter system, and mark the area where the filter will be placed. Use a pipe cutter to carefully remove the marked section of pipe.
- Assemble the filtration system: Follow the instructions to assemble the filtration system and included components, such as any pre-filters, housings, and mounting brackets.
- Mount the filter bracket: Use a drill to create holes for the filter bracket on a secure surface close to the pipe. Attach the bracket with screws, then attach the filter housing to the bracket.
- Connect the filter to the pipes: Use the adjustable wrench to connect both the inlet and outlet pipes to the filter housing using the provided fittings. Ensure the connections are tight to prevent leaks.
- Install any additional components: If your system includes pre-filters or other accessories, follow the instructions to install them in the correct order for optimal filtration.
- Turn the water supply back on: Restore the water supply by opening the main shut-off valve. Check for any leaks around the filter housing and connections, and tighten as needed. Allow water to flow through the system for a few minutes to flush out any residual air and debris.
That’s it! Your whole house water filter system should now be properly installed and ready to provide clean, fresh water throughout your home. Remember to regularly replace filter cartridges as recommended by the manufacturer.
Related Articles:
8 Best Water Filter To Remove Calcium And Lime