


A tankless water heater makes hot water available on demand. This makes them ideal for households that demand frequent and reliable hot water. How to descale tankless water heater?
It’s crucial to frequently descale your tankless water heater to ensure it’s operating at its best. Descaler can help you clean and maintain your tankless water heater, but it’s necessary to know how to descale tankless water heater properly. Let’s start!
How To Descale Tankless Water Heater: Need Of Descaling
The scale accumulation within a tankless water heater occurs slower than in a tank heater. Nevertheless, this build-up still influences the performance of a tankless water heater. The scale blocks the heating elements, diminishing their effectiveness.
Gradually, the accumulated debris will require your heat exchanger to expend more energy on warming the water.
Over time, the accumulation of sediment may impede the movement of water. The sediment may damage the interior walls of the tankless water heater to the point that it will require replacement.
How To Descale Tankless Water Heater: Cleaning Water Heater

Carry out the first descaling process of a tankless water heater 3 years following its installation. If you observe any sediment after the initial flush, conduct the descaling process again in 3 years. On the other hand, if no sediment is present, the treatment will be repeated for 5 years.
If you have hard water running in your area, flush your water heater regularly. If you are unsure of the water quality in your area, contact your local government to find out. Additionally, a professional plumber can help you decide how many times you should flush your water heater.
Taking Care Of Exterior Maintenance
Paying attention to the exterior of your water heater is also necessary. Fortunately, it only takes a little effort or materials to keep up with the outside of the heater.
Begin the process by wiping the outside surface. Utilizing a non-abrasive cleanser and a gentle fabric will keep the unit free of dirt and also assist in restraining rust formation.
Make sure to examine the pipes closely. Monitoring the pipes during colder temperatures is an effective way to prevent them from becoming frozen.
If your tankless water heating system is equipped with a pressure release valve, it is essential to carry out a test.
Maintaining the outside of a building usually takes around 20 minutes. Cleaning out the water heater will take a bit more time.
How To Descale Tankless Water Heater: Step-By-Step

Tankless water heaters are integrated into a home’s walls, making it difficult to separate the heater and attach it back on. If you wish to install a tankless water heater, contact an experienced plumber. It is best to leave this to someone knowledgeable about the system.
Here are the requirements on how to descale tankless water heater:
- 3-4 gallons of distilled, food-grade white vinegar
- A submersible pump
- A 5-gallon bucket
- 2, ¾ inch connection drain hoses
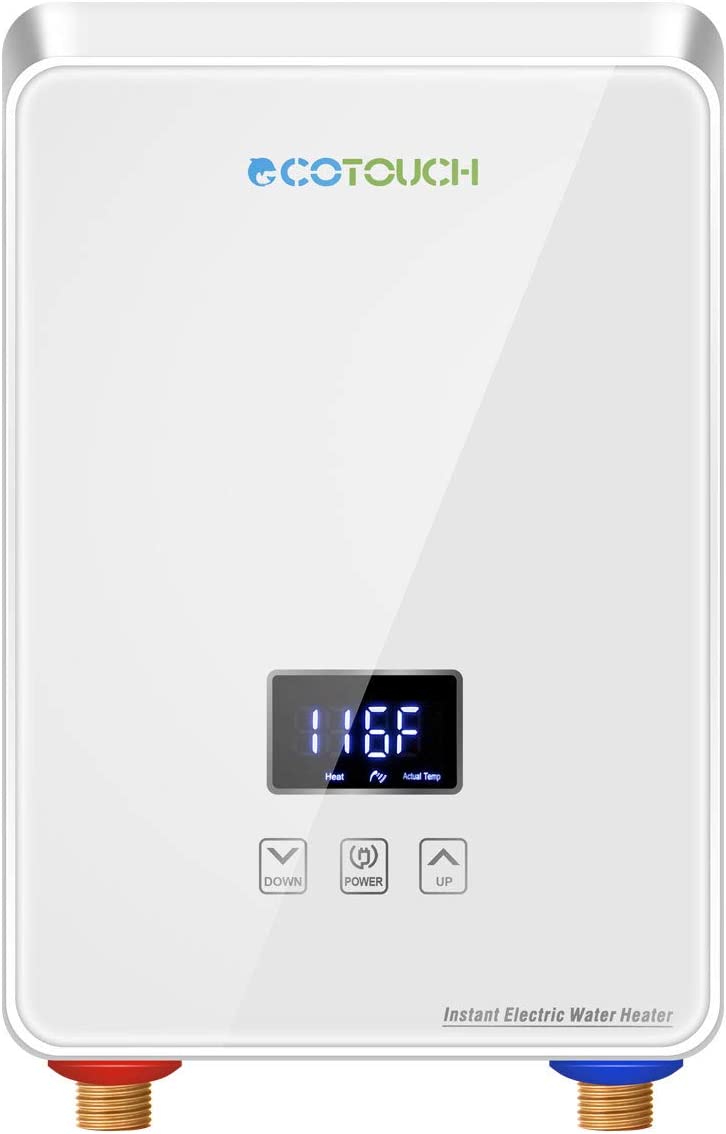
Please Note: The red valve on the apparatus signifies the water on the warm side, while the blue valve symbolizes the water on the icy side. The caps for draining are located on top of the hot side & the left side of the cold side.
If the valves are vertically aligned, then valves are in the “on” position, allowing water to pass through. However, if the valves are placed in the perpendicular position then, the valves are in the “off” mode.
Here are the complete steps on how to descale tankless water heater:
- Keep the unit on and switch off the gas valve.
- Switch off both the hot and cold valves. Take out the drain caps from both valves. Place the five-gallon container underneath the heated water pipe. Turn the red shutoff valve in circular motion, and use the bucket to empty water from the system.
- Repeat step 2 on the cold water side.
- Attach a water pipe to the submerged pump and position the pump and the linked hose in the five-gallon container. Ensure the power cable remains outside the bucket.
- Link the pump outlet hose to the cold water drain valve.
- Attach a hose to the outlet of the hot water drain valve and direct the other end into the bucket.
- Pour the vinegar into the bucket until it covers the pump. Then, open both isolation valve handles and activate the pump for at least 60 minutes. For the best outcome, switch out the vinegar solution every half an hour and do it again. The appliance will likely attempt to start, yet it will be unsuccessful due to the gas being shut off. Eventually, an error code 11 will come, which is normal during the procedure. DO NOT RESET.
- After waiting an hour, switch off the pump and close the cold water drain valve. Detach the hose from the cold water drain valve and put the cap back on the drain valve outlet.
- Take out the pump, the hose connected to the bucket, and pour out the fluid. Put the hot water hose back into the bucket when it is empty, and then turn on the cold water main valve. This process will remove the old water from the heater and replace it with a new cold water supply. Keep the water running for at least 5 minutes or until 20 gallons have gone through the system.
- When dealing with condensing units, you should place a bucket underneath and then unscrew the drain cock that is located beneath the water heater to eliminate any descaling solution that has gathered in the unit. Switch the main inlet valve to the “OFF” position.
- To perform additional maintenance, unscrew and remove the water filter to thoroughly clean it – some water may come out. Rinse the water filter under a running tap to eliminate any dirt or debris. Insert the filter in its port and turn it firmly by hand to ensure it is securely in place.
- Switch the drain valve to the “OFF” position. Take off the drain hose and set it aside. Securely attach the drain cap back into place.
- Switch the main hot and cold valves back to the “ON” position. Turn on the gas supply back.
If you receive error code 11 after descaling, you can fix it by turning the unit off and back on again.
How To Descale Tankless Water Heater: Why Should You Choose A Professional?
Your tankless water heater is responsible for your home’s water supply. So, you must take the appropriate measures when descaling it to avoid any potential harm to your water.
Let the professional check whether the descaling process has been executed correctly or not.
It is necessary to perform yearly maintenance on a tankless water heater, including flushing out the system, cleaning the outer surface of the appliance, etc. Additionally, installing a sump pump to safeguard the basement machines can be a smart decision.
FAQs (Frequently Asked Questions) On How To Descale Tankless Water Heater
1. Can I descale my own tankless water heater?
If you wish to descale a DIY tankless water heater, you’ll need to spend approximately $100 on a submersible pump, hoses, a bucket, and a descaling solution or vinegar. Afterward, only the descaling solution has to be purchased when required.
2. What should I use to descale my tankless water heater?
To descale tankless water heaters, you will require 3-4 gallons of distilled, two ¾ inch connection drain hoses, food-grade white vinegar & a submersible pump.
3. How often should you descale a tankless water heater?
With time, minerals may accumulate inside a tankless water heater’s heating chamber, potentially causing the walls’ erosion. Flushing out the mineral deposits at least once a year is vital to keep it functioning properly and increase its longevity.
4. What happens if you don’t descale tankless water heater?
Accumulated minerals may create a blockage in the unit, blocking regular heating. Also, the hot water might be erratic, leading to overheating and reducing the system’s effectiveness.
Summary: How To Descale Tankless Water Heater
Once the tankless water heater has been descaled, it is important to maintain its performance. Regularly descaling your tankless water heater will help ensure it remains free of scale, while an annual maintenance checkup will help ensure the unit continues to operate effectively.
If you want to ensure your tankless water heater is working perfectly, you should take advantage of having it checked by a plumber. Contact a local heating and cooling contractor when a plumber cannot help you with your heating needs.
It is important to remember that the sooner you descale your tankless water heater, the better. Taking steps to prevent scale buildup can help ensure that your tankless water heater will continue to operate effectively and last for many years.
I hope this article on how to descale tankless water heater sounds helpful!
Read More
How To Install A Tankless Water Heater: A Step-By-Step Guide
Understanding Tankless Water Heater Cost: What To Expect And How To Save Money