


If you’re looking for a convenient & affordable way to have clean and safe drinking water. Installing a filter under your sink is a great way to filter out sediment, chlorine, and other contaminants from your water. But how to install under sink water filter?
Installing an under-sink water filter allows you to enjoy clean and safe water at your fingertips. These filters are easy to install, require minimal maintenance and offer a wide range of options for filtration.
Here we will learn how to install under sink water filter and the whole installation process.
How To Install Under Sink Water Filter: Tools and Supplies You Need

If you have ever tried to do a plumbing repair at home, you likely have the necessary tools and materials. However, the setup process only requires a few tools which can be found at:
- Amazon
- Hardware store (Lowe’s, Home Depot, Menard’s)
Look at this checklist before installing under sink water filter –
- Plastic tubing cutters
- Teflon tape
- Screwdriver
- Under sink water filter (with cartridges)
- Adjustable wrench
- Wrench.
How To Install Under Sink Water Filter
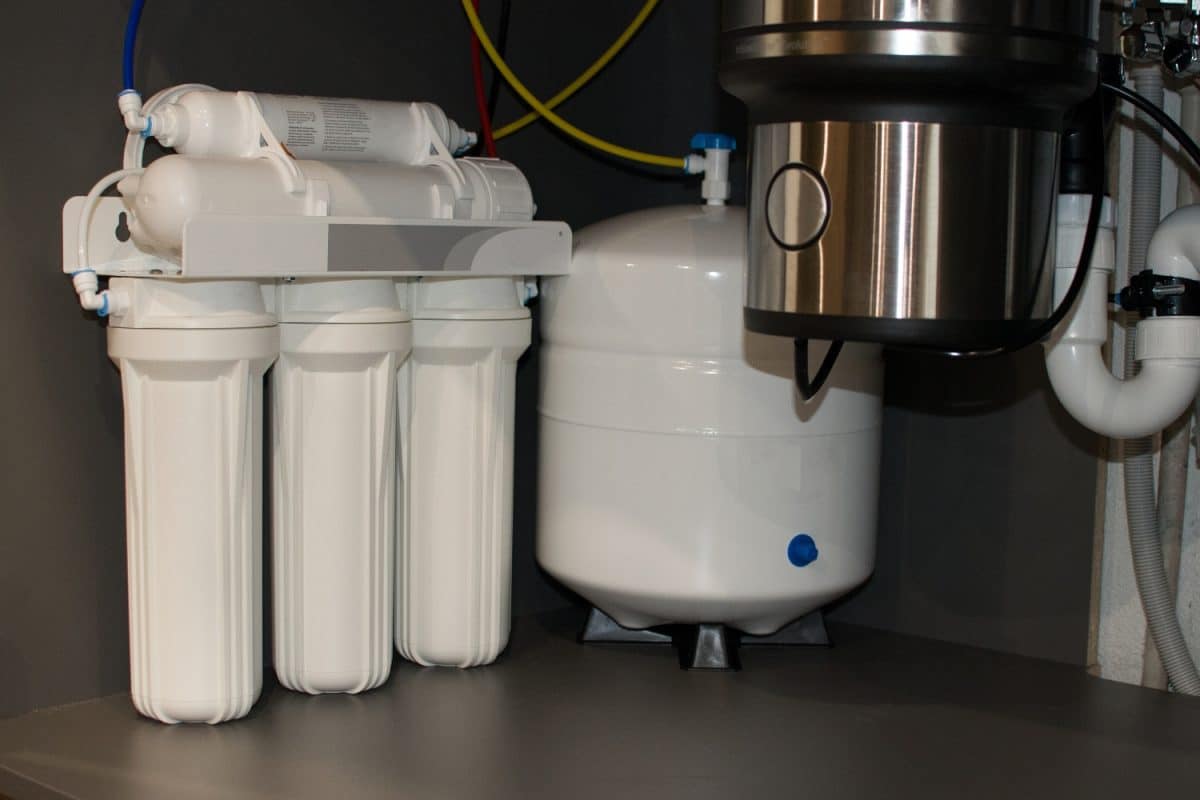
The water filter, located underneath the sink, is installed inside the cupboard and connected to the cold water line. If you have a reverse osmosis system, you must place the additional water tank within the cupboard. Certain filters installed under the sink have a separate tap to provide filtered water.
Here is how to install under sink water filter:
1. Close the cold water supply valve
When you look inside your kitchen sink cabinet, you will notice a drainpipe and two water supply lines. Shut off the cold water line valve since the filter is only designed for cold water.
Please Note: If you don’t know which pipe is for cold water, open the hot water tap on the sink. And touch the lines to feel which one is hot. Leave that one alone and work on the other.
2. Remove the cold water tubing
Disconnect the supply of cold water to the kitchen faucet. Use a wrench to loosen the nut and remove the tubing from the water line.
3. Install the Adapter
Attach an adapter to the water supply line. Employ a copper T-adapter with a branch to set up the ¼-inch tubing connection.
- You need to wrap Teflon tape around all threads to ensure a proper seal
- Thread the T to the cold water line
- You need to use two pairs of wrenches to get a tight fit (don’t over-tighten).
Now, connect the tubing of the under-sink water filter to the copper T.
- You need to attach the shut-off valve to the plastic tubing. This small valve makes cartridge replacements easy
- Slide in the nut that is part of the T-fitting
- Push the copper & insert it inside the piping to keep it firm
- Connect the tubing with the copper T to tighten the fitting.
4. Drill a hole in your sink
If your under-sink filtration system includes an extra outlet for filtered water, you must make a hole in the countertop’s surface. This hole typically has a diameter of 35 mm or 1⅜ inches. If you want to install a soap dispenser, you can use the pre-drilled hole.
If you have a granite countertop, you will have to utilize a grinder to get the job done. Bear in mind that if you don’t carry out the task correctly, it can be messy and harm the granite.
5. Install a new faucet
After drilling a hole into your countertop, the next step is placing the additional faucet in it. While you fasten the fitting from the inside of the cabinet, it would be beneficial to have a helping hand to hold the faucet in place on the outside.
To prevent any water from leaking, put a sealant underneath the seal of the faucet. Secure the tubing in the cupboard with a combination of washers, nuts, and brass inserts, then attach it to the filter tubing. Make sure the fittings are tightened.
6. Mount the filter system
Place the water filtration system against the rear or side of the cabinet and indicate the spots where the holes need to be drilled. Then, use a drill machine to create the openings.
Make sure to leave enough room beneath the unit to be able to remove the casings with ease. Additionally, ensure that you fasten the system to the cabinet since it needs to support considerable weight.
7. Make plumbing connections
After joining the filter stages, identify the entry and exit points of the unit. One of the ports is for entering the unit’s water, and the other is for leaving water outside the unit.
The tubing that comes from the cold water source should be connected to the inner fitting of the filter casing. Conversely, the pipe from the tap should be inserted into the outer connection.
8. Turn the water back on
Reactivate the valve that you had deactivated. Then, move the shut-off valve of the filtration system up and down along the tubing to open it.
It is essential to turn the knob of the valve gradually, or else the unit might suffer from a sudden spike in pressure. Push the air release key at the top to eliminate any trapped air.
9. Check for leaks
Carefully check each connection for any dripping or leaking and immediately repair them.
10. Allow the system to flush
Activate the cold water tap and allow it to flow for a few minutes. There is no need to squander the water – utilize it to wash dishes or hydrate your plants. It is essential to rinse new filter cartridges and take away any impurities from the pipe.
Finally, you can enjoy many benefits with the newly installed under-sink water filter.
FAQs (Frequently Asked Questions) On How To Install Under Sink Water Filter
1. Can you attach a water filter to a pull out faucet?
Generally, the fittings on pull-out and pull-down faucets cannot hold the weight of a PUR water filter attached to the faucet. Nevertheless, it is effortless to install one on a regular kitchen faucet using different adapters that are readily available.
2. Can I put a water filter on my sink?
If you want to ensure that the water you’re drinking is free from contaminants, then a kitchen sink water filter is a great option. You can get a plumber to install the filter or do it yourself. If you are worried about lead in the water, you should select a certified filtering system to take out a lead.
3. Which way does airflow go on filter?
Ensure the arrow on the airflow is facing the way the air travels. This will not only help ensure clean air but will also shield your HVAC system from the accumulation of dust and dirt. The arrow should point in the direction of the furnace/blower motor to catch any hazardous particles before they can get to the furnace’s components.
4. Are under sink water filters worth it?
Although under-sink water filters don’t offer cold water, they provide a higher quality of H2O for your whole family than pitcher filters. Additionally, their effortless operation and superior filtration make them a preferred option for many homeowners.
Summary: How To Install Under Sink Water Filter

Installing under sink water filter is simple. First, you need to close the cold water supply beneath your sink. Then remove the cold water tubing and reconnect the tubing.
You can then drill a hole in your sink (only if the filter comes with a separate dispenser) & install the new faucet. Mount the under sink water filter & establish all the connections. Finally, turn the water back on, flush the system, and check for leaks.
I hope this article on how to install under sink water filter sounds helpful!
Read More
How To Install A Water Softener?
Ultimate Guide For Water Softener Maintenance
Understanding Tankless Water Heater Cost: What To Expect And How To Save Money